
Starting with Laravel 11, the framework officially made SQLite the default database driver for all newly created applications (laravel new my-app). Developing against database/database.sqlite provides an unparalleled zero-friction onboarding experience: zero database server installation, zero Docker containers, and instant php artisan migrate execution.
However, when preparing to launch your Laravel application to production (on AWS RDS, Forge, Vapor, DigitalOcean, or Ploi), you must transition from SQLite to MySQL (or MariaDB/PostgreSQL).
Running php artisan migrate on production creates empty tables, but what about your rich local seed data, pre-configured roles, blog posts, or test catalog?
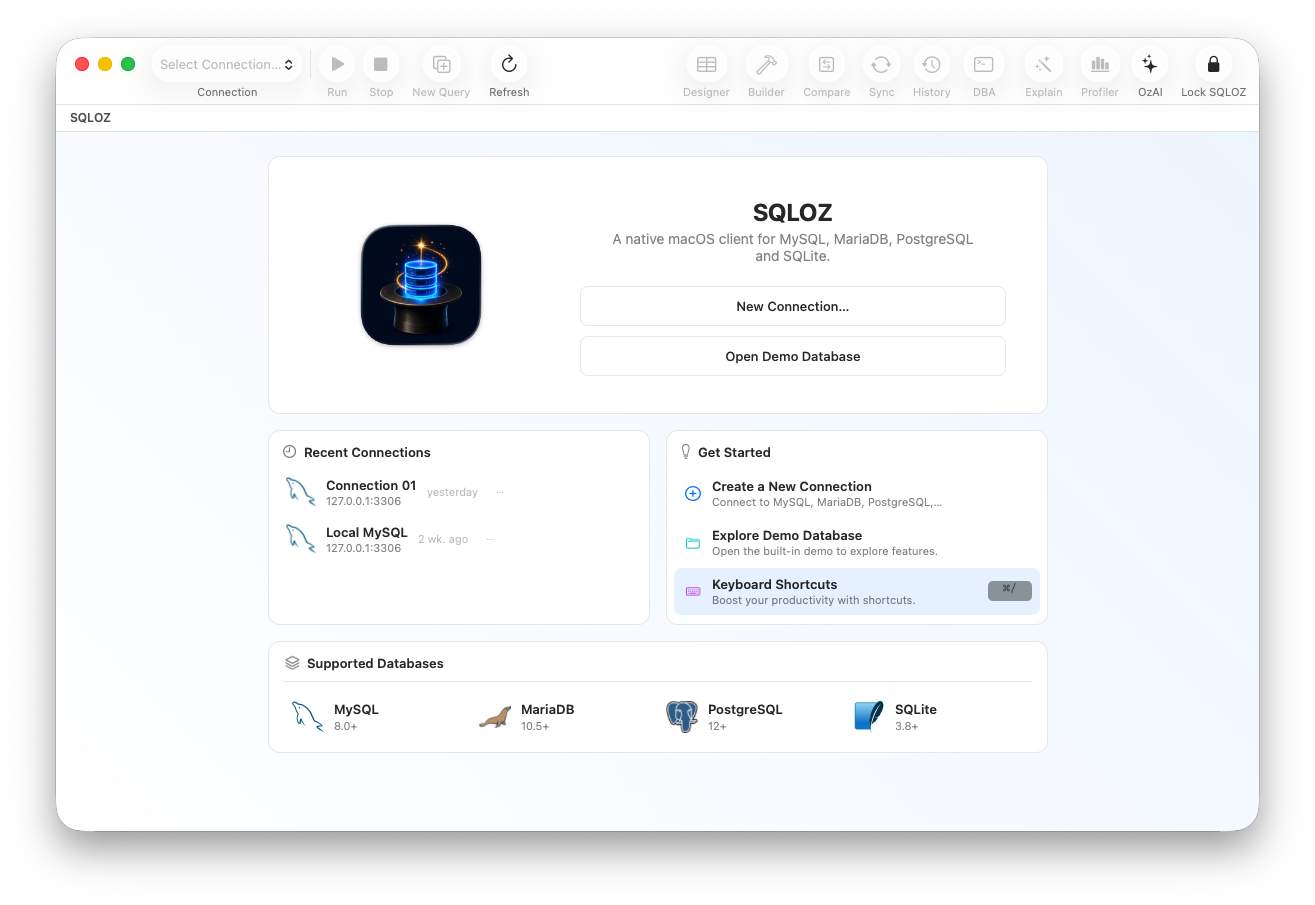
In this practical walkthrough, we show you how to move your Laravel SQLite database to a live production MySQL server with zero data loss using SQLOZ on macOS.
1. The Challenge with Standard Laravel Seeding
Why not just run php artisan db:seed on production?
- Real-world development often involves creating complex test users, custom configurations, and media uploads that aren’t codified inside seeders.
- Using custom CSV or dump scripts risks altering auto-increment IDs, breaking relationship foreign keys between
users,teams, andpermissions.
2. Preparing Your Laravel Production MySQL Database
- Create an empty database on your production server:
CREATE DATABASE my_laravel_app CHARACTER SET utf8mb4 COLLATE utf8mb4_unicode_ci;- Verify that your remote server is accessible via an encrypted SSH Tunnel.
3. Transferring Your SQLite Data to MySQL in SQLOZ
SQLOZ is a native macOS database client built in Swift and Metal that can open your Laravel .sqlite file and stream it directly into your remote MySQL server.
Step 1: Open Your Laravel Project in SQLOZ
- Launch SQLOZ.
- Click Add Connection ➔ select your project’s local file:
my-laravel-app/database/database.sqlite.
Step 2: Connect to Your Production MySQL Server
In the same SQLOZ window, add a connection to your remote MySQL server. If your server is hosted behind a firewall (e.g., Laravel Forge with SSH keys), configure the SSH Tunnel tab using your existing SSH key (~/.ssh/id_rsa or ~/.ssh/id_ed25519).
Step 3: Run Cross-Dialect Migration
- Right-click the SQLite connection in the left sidebar and select Migrate to MySQL…
- Select your newly created
my_laravel_appdatabase as the target. - SQLOZ’s automatic AST compiler converts SQLite types to MySQL standards:
- Upgrades
INTEGER PRIMARY KEY AUTOINCREMENTtoBIGINT UNSIGNED AUTO_INCREMENT PRIMARY KEY. - Converts integer booleans (
0/1) toTINYINT(1). - Sets
ENGINE=InnoDBand collation toutf8mb4_unicode_ci.
- Upgrades
- Click Start Migration. All tables, constraints, and rows stream directly into MySQL in seconds.
4. Updating Your Laravel .env Configuration
Once the data is transferred, update your production environment file:
DB_CONNECTION=mysql
DB_HOST=127.0.0.1 # or your private cloud RDS endpoint
DB_PORT=3306
DB_DATABASE=my_laravel_app
DB_USERNAME=laravel_user
DB_PASSWORD=your_secure_password
Run Laravel’s configuration cache command on your server:
php artisan config:cacheVisit your application in the browser - all your user sessions, records, and relationships will be completely intact!
Summary
Migrating from Laravel’s default SQLite setup to production MySQL doesn’t have to be complicated. With SQLOZ, Mac developers can connect local files to cloud servers and transfer full datasets in seconds with zero downtime.
Download SQLOZ for macOS and deploy your Laravel applications with confidence.