
SQLite is everywhere. It powers mobile app storage on iOS and Android, lives inside your local macOS Safari and Chrome caches, and is embedded inside desktop frameworks like Electron, Tauri, and native Swift applications.
However, because SQLite data is encapsulated inside a single binary file (.sqlite, .db, or .sqlite3), extracting that data into universally usable formats - such as CSV for business analysts, JSON for REST APIs, or a remote MySQL database for production staging - often leads developers to search for command-line recipes.
In this tutorial, we review the command-line techniques for dumping SQLite and show how to perform instant, one-click exports directly from your Mac using SQLOZ.
1. The Terminal Way: Using the sqlite3 CLI
If you have the standard sqlite3 terminal binary installed on your Mac, you can extract records via CLI dot-commands:
Exporting SQLite to CSV
sqlite3 -header -csv local.db "SELECT id, email, created_at FROM users;" > users.csv- Pros: Fast and built into macOS by default.
- Cons: Embedded commas, double quotes, and line breaks in
TEXTcolumns can break CSV row boundaries unless properly escaped.
Exporting SQLite to JSON
Modern versions of SQLite (3.33+) include the .mode json CLI option:
sqlite3 -json local.db "SELECT id, email, is_active FROM users;" > users.json- Pros: Clean JSON array format
[{"id": 1, ...}]. - Cons: Cannot export directly to line-delimited JSON (JSONL) for stream processing without custom
jqpiping.
2. The Native macOS GUI Way: One-Click Export with SQLOZ
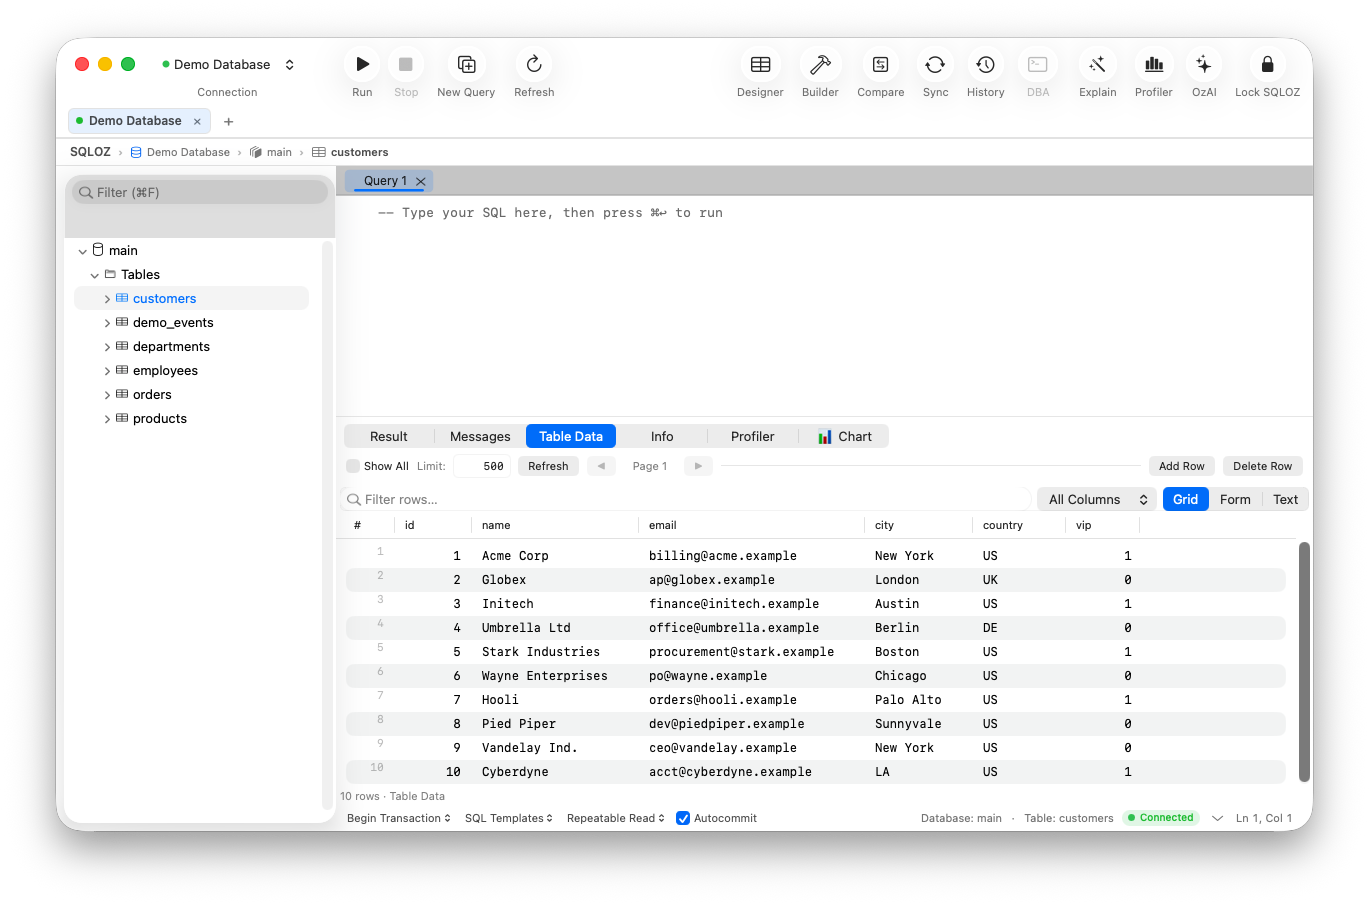
Instead of remembering CLI flags, SQLOZ turns data extraction into an intuitive, visual workflow on your Mac.
Step 1: Open Any SQLite Database Instantly
In SQLOZ, simply drag any .sqlite, .db, or .sqlite3 file directly into the application window. It mounts immediately without requiring server credentials or port binding.
Step 2: Filter or Query What You Need
- Double-click any table to view it in the Data Grid.
- Use the visual filter bar to isolate matching rows (e.g.,
status = 'active'). - Alternatively, write a custom analytical query in the SQL Editor.
Step 3: Export to CSV or JSON
- Click the Export button in the grid toolbar.
- For CSV: Configure delimiters (comma, semicolon, pipe), quote characters, and UTF-8 header options.
- For JSON: Choose between a formatted JSON array or unformatted JSONL for big data pipelines.
- Choose your destination in Finder and save. SQLOZ streams the file in milliseconds.
3. Converting SQLite Directly to a Remote MySQL Database
What if your goal isn’t a static file, but converting an entire SQLite database directly into a live MySQL server?
With SQLOZ, you don’t need intermediate dump files:
- Connect to both your local SQLite file and your remote MySQL server in SQLOZ.
- Right-click the SQLite file and select Migrate to MySQL…
- SQLOZ translates all table definitions, converts SQLite integer booleans to MySQL
TINYINT(1), builds auto-increment primary keys, and streams the data directly over an encrypted SSH Tunnel.
Read our full guide on How to Convert SQLite Database to MySQL for Production Deployment for detailed schema conversion best practices.
Summary
Whether you need a quick CSV report for an executive, a JSON payload for an API test fixture, or a complete migration to MySQL, your database tools should work as smoothly as your Mac hardware.
Download SQLOZ for macOS and unlock instant SQLite data extraction today.